Tuesday, August 21, 2012

Spoon People


Helpful Hint:  Unlike what I did in the above picture, leave the lower 3/4" of the spoon unpainted if you are going to glue them around a wood circle.  The glue will adhere better!


Glue your spoon people around a wood circle that has been decoupaged or painted to your fancy! 


T-Shirt Totes


This is how you do it!


Save the scrap pieces for later in the project.


I made a template from freezer paper for the girls to follow.


If you decided to stitch the shoulder straps together instead of tying them,
you can finish with the last two steps.


All done!

Click here to return to Girl's Camp Crafts!

Monday, August 20, 2012

"Let Your Light Shine" Lanterns


Center one piece of wire on each side of the jar just under the grooves. 
Twist the wire pieces securely together on each side.


Embellish with ribbons and fabric ties, if desired.
Add a tea light and you're good to go!


Melted Pony Beads


Follow these easy steps and have fun!

Start with a variety of translucent and opaque plastic pony beads.  


Thrift stores are a great place to find metal shapes to use as molds.


If you place the shapes on a pie tin first, then its easier to place the molds into the oven.


This is a stinky process, its best to bake outside in a toaster oven.


They should just pop out!


To finish, wrap your design artistically with thin wire, adding beads if desired, and fashion a wire loop so that your new pendant can hang from a chain.


Super easy!

Click here to return to Girl's Camp Crafts!

Saturday, August 18, 2012

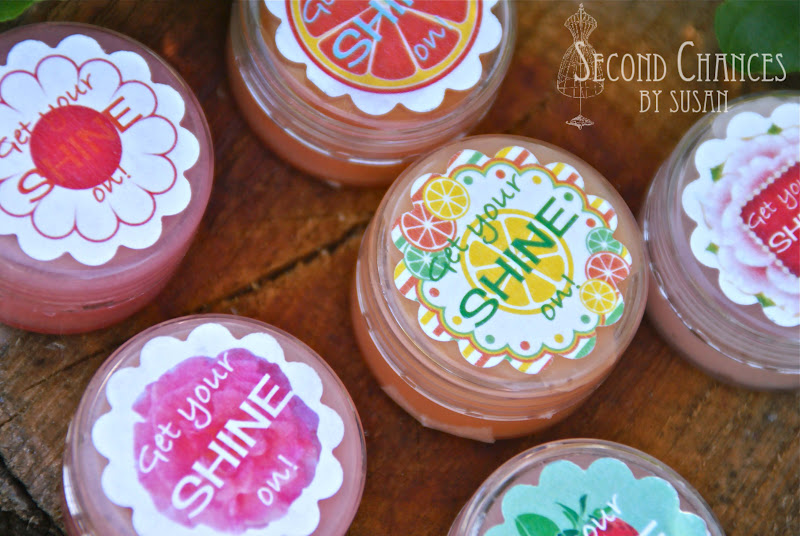
"Get Your Shine On" Lip Gloss


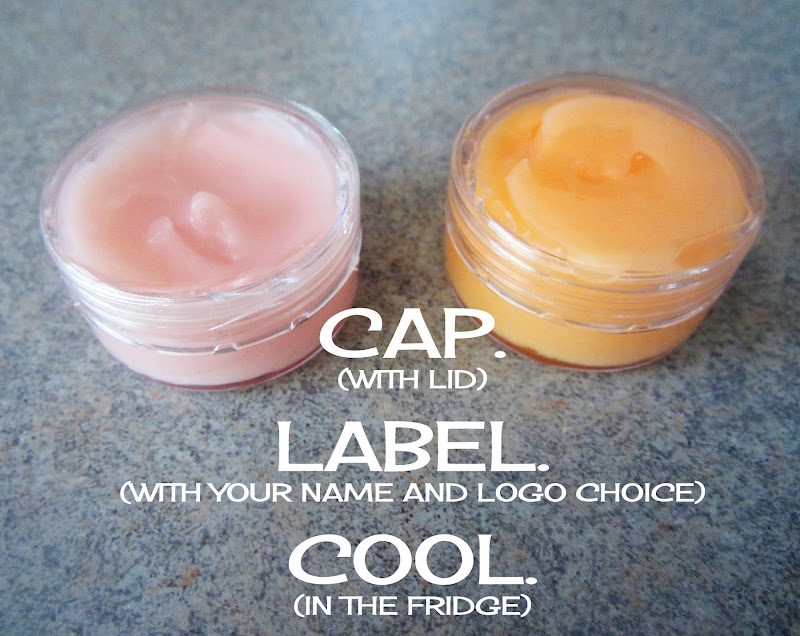
You will also need a small zip-lock baggie and containers for your lip gloss.  We used small plastic bead containers purchased form JoAnn Fabrics.  Each batch filled two containers.


(Obviously, you don't need to add your name unless you're working with a group of girls!)


Please note:  The following pictures were taken as an afterthought (after the lip gloss was already made), so the baggie isn't completely full with the lip gloss ingredients, but the process is the same.


 We found that the lip gloss gets pretty soft in warm weather.  It was a good idea to keep the finished product in a baggie to prevent it from accidentally leaking onto other things!


Monday, May 14, 2012

Pretty in Pink

Step-by-step on how to turn a pajama jumpsuit into a cute and comfy dress.


I began with cutting at the waist to eliminate the dropped waist and gathers.  


Next step was to cut my sleeves from the pant legs, taking advantage of the existing hem to be used for the hem of my sleeves.  I used a sleeve pattern to get an idea of the curve I needed.  I also measured the sleeve opening on the bodice to make sure the new sleeve would fit.  I cut the sleeve a little bigger than the bodice sleeve opening so that I would have some ease at the top of the sleeve. Once cut, I ran a gathering stitch along the top of the sleeve and gathered it slightly.  I pinned the sleeve to the bodice opening and stitched it in place.  


I wanted the sleeves to be a little more fitted, so I made a small cut on the backside of the existing hem.  I then threaded some small elastic through and secured the ends.


Now it was time to turn my attention to the skirt of the dress.  After cutting apart the inseam and crotch area, I laid the piece flat (right sides together and original side seams on top of each other.)  I then squared-up and cut off the top edge.  Note: Even by cutting off the top edge, there were still a few buttons/buttonholes at the front.  This is essential in order to get your dress on and off!


The front and back crotch areas were squared-up, stitched, and cut off.  At this point you could also square-up and cut off the bottom edge.


On second thought, I wanted a slit in the back, so instead of a small serged seam in the back, I cut it away and stitched a new one.  This time, I serged both edges and then stitched a 5/8" seam.  I didn't stitch it all the way to the end so that I could leave an opening for a back slit.


Press the back seam open.


Next, the bodice and skirt went onto the dress form for fitting.  I pinned the side seams.


I also pinned darts in the front and the back.


Stitch the side seams.


Stitch the darts and press.


 Sorry, the rest of the tutorial is picture-free, but its just a matter of pinning and stitching the skirt to the bodice and hemming the skirt.  The sash was cut 8 12" wide (by what ever length you want it to be), folded in half, stitched, turned, and pressed.  

I hope this tutorial was helpful and that you have fun with your next refashion!